
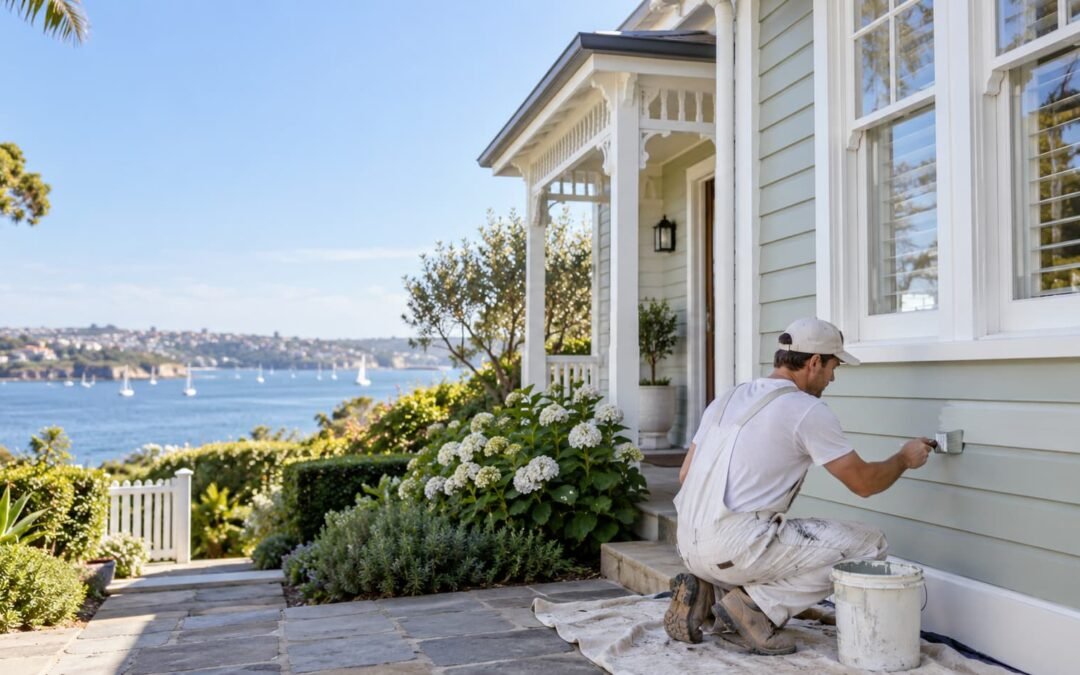
When we look at a weatherboard home, the first question is not “Which colour do you want?” It is “What are we actually painting over?”
Fresh paint will only perform as well as the timber and old coating underneath it. If the boards are damp, soft or covered in loose paint, another coat may look good for a short time, but the same weak areas are likely to show through again. That is why we spend time checking the surface before recommending a system or finalising a quote.
Sydney weather adds another layer to the job. Full sun can leave one side faded and chalky, while a shaded wall stays damp and develops mould. Near the coast, salt tends to collect along lower board edges, window trims and other ledges. Two sides of the same house can need different amounts of preparation.
What we look for on weatherboard homes
Weatherboards move slightly as temperature and moisture change. Each board also has overlaps, end grain, joins and fixings where a coating can start to fail.
A practical walk-around should focus on:
- paint lifting along the lower edge of a board
- peeling around joins, corners and window frames
- grey or exposed timber
- open gaps at junctions
- rust marks around old fixings
- boards that feel soft or have split
- mould on shaded walls
- fading and chalking on walls that receive full sun
The location of the damage tells us more than the colour of it. One isolated chip may only need local preparation. Peeling across an entire elevation suggests a wider adhesion, ageing or moisture problem. If the same section has failed more than once, we would want to understand why before covering it again.
What should be clear before you accept a quote
A useful weatherboard quote should explain the condition of the house, not just state a number of coats. Mosi prepares BrushUp Painting quotes personally, so clients can discuss the surface and scope directly with the person responsible for the job.
Before accepting a quote, check that it answers these questions:
- How much of the old paint is loose?
- Is bare timber being spot-primed or is a broader primer coat needed?
- Are split, loose or soft boards included in the painting scope?
- Are there signs of water entering around gutters, windows or roof junctions?
- How will upper levels, gables and narrow side passages be reached safely?
- Which areas require more preparation because of sun, shade or coastal exposure?
Painting cannot fix an active leak or make rotten timber sound. If we find an issue that needs a carpenter or another trade, we would rather identify it before painting starts than hide it under filler and paint. This gives the client a clearer scope and gives the coating a fair chance to last.
How we approach the preparation
Preparation is usually where weatherboard quotes differ most. A well-maintained home with firmly bonded paint is a different job from an older exterior with brittle layers, exposed timber and failed joints. We do not assume every house needs a full strip, but we also do not coat over paint that is already letting go.
The scope may include the following steps, depending on what we find.
1. Cleaning the exterior
The surface needs to be free of salt, dirt, mould and loose chalk before sanding or coating. Washing also gives the painter a clearer view of what is sound and what is not.
Cleaning needs to suit the building. More pressure is not always better. It can force water behind boards, damage soft timber or tear into areas that need controlled hand preparation. The goal is to remove contamination and reveal the true condition of the coating without creating another problem.
2. Removing loose and failing paint
Peeling and flaking edges should be scraped back until the remaining coating is firmly attached. Painting over a loose edge only transfers the weakness into the new system.
We do not automatically recommend stripping every old weatherboard house back to bare timber. Where most of the coating is still sound, failed sections can often be removed and the edges carefully feathered. If several layers are brittle or separating together, a larger removal area may be the more honest recommendation. That decision should come from testing the paint, not from a standard package.
3. Sanding and feathering edges
Sanding smooths sharp transitions between bare timber and existing paint. This helps the finished wall look consistent and reduces obvious ridges around repaired areas.
Detailed profiles, corners and narrow gaps take longer than broad flat surfaces. A quote that allows for these details is more realistic than one based only on the wall area.
4. Addressing timber and junction problems
Loose boards, open joints and deteriorated timber should not simply disappear beneath filler and paint. The painter should identify what is within the painting scope and what requires a carpenter or another trade.
Suitable exterior fillers and sealants may be used where appropriate, but they need to match the location and movement. A rigid patch in a moving joint can crack again even when it looked perfect on the first day.
5. Priming bare and problem areas
Bare timber needs a compatible primer before topcoats are applied. Knots, tannin-prone timber, stains and old problem areas may need a specific treatment rather than a general wall primer.
Spot priming may suit isolated bare areas. More extensive exposure or a significant change in coating condition can justify a broader primer coat. The product choice should come from the substrate and existing paint, not habit.
6. Applying the finish coats
Once the surface is stable, dry and primed, the finish coats create the colour and weather protection. Coverage needs to be even across board faces, lower edges and detailed junctions without heavy runs or missed lines under overlaps.
BrushUp uses premium products from established manufacturers such as Dulux and Taubmans, selected for the surface and exposure rather than applying one product to every exterior.
Coastal exposure changes the weak points
Salt air does not affect every Sydney property equally. A sheltered wall in Paddington has a different exposure from a facade close to the water in Bronte, Coogee or Vaucluse.
On coastal homes, salt and moisture can accumulate on ledges, lower board edges, fixings and shaded walls. Regular cleaning and early attention to small coating breaks can help stop moisture reaching bare timber.
The most exposed elevation may also age sooner than the rest of the house. That does not always mean every wall needs the same repair. A site assessment can separate local exposure problems from whole-of-house coating failure.
For more detail, read BrushUp’s guide to how Sydney’s salt air affects exterior paint.
Choosing colour and finish for weatherboards
Colour is not only a design decision. Dark colours can absorb more heat, and the change in temperature can place extra stress on some timber and coatings. The condition and type of boards should be considered before making a major move from a light exterior to a very dark one.
Finish also affects appearance and maintenance. A lower-sheen finish can soften small surface variations, while a slightly higher sheen may be easier to wash in exposed or high-contact areas. There is no universal answer because the existing profile, desired look and product system all matter.
Test colours on the actual house and view them at different times of day. Sydney’s bright outdoor light can make a colour appear much lighter than it did on a small swatch. BrushUp’s article on choosing exterior paint colours for an Eastern Suburbs home provides a fuller colour-planning guide.
Why two weatherboard quotes can be very different
From the street, two homes can look similar. Once we inspect the walls closely, the amount of work can be very different. The biggest variables are usually:
- how firmly the old paint is holding
- how much scraping and sanding is required
- the amount of bare or weathered timber
- windows, eaves and detailed trim
- repairs that must happen before painting
- access to upper levels and narrow side paths
- the size of the colour change
- protection needed around gardens, paving and neighbouring properties
When comparing quotes, look beyond the final price. Ask what will happen to loose edges, exposed timber and failed joints, which primer is allowed for, and what is excluded. BrushUp Painting provides a written fixed-price quote with no hidden costs once the agreed scope has been assessed.
Shortcuts that lead to early failure
A weatherboard repaint can look acceptable from the street even when important steps have been missed. Watch for scopes that rely on:
- coating over chalk, salt or mould
- leaving loose paint at the edge of scraped areas
- using interior filler or unsuitable sealant outside
- skipping primer on exposed timber
- painting damp boards after washing or rain
- ignoring soft timber or active water entry
- using one product across timber, metal and masonry details
The final colour cannot compensate for a weak substrate. If the quote is vague about preparation, ask what will happen to peeling edges, bare timber, open joints and damaged boards.
Planning the work around your home
Exterior painting still affects access, windows, outdoor furniture and gardens. Before work begins, confirm:
- where ladders or access equipment will be placed
- which windows and doors need to stay closed during each stage
- how plants, paving and neighbouring surfaces will be protected
- whether washing or sanding creates special access requirements
- how weather delays will be communicated
- what will be checked during the final walk-through
BrushUp Painting keeps the site neat and organised, communicates clearly and completes a thorough clean-up. Mosi remains directly involved from the quote through the project, giving clients one accountable point of contact.
Maintaining painted weatherboards
A simple annual inspection can catch small problems before they spread. Walk around the home after a period of wet weather and look closely at lower board edges, corners, sills and shaded walls.
Clean salt and surface dirt before it builds up. Keep gutters functioning and vegetation away from walls where it traps moisture. If one small area is damaged, early repair is usually more straightforward than waiting for water to move behind surrounding paint.
Frequently asked questions
Do weatherboards need to be completely stripped before repainting?
Not always. A full strip may be justified where failure is extensive or old layers are unstable. If much of the existing coating is sound, failed areas can often be removed, feathered, primed and recoated. The decision should follow an adhesion and condition assessment.
What is the best paint for exterior weatherboards?
The best system depends on the timber, existing coating, exposure and condition. Quality exterior acrylic systems are commonly used, but bare timber, stains and problem areas may require specific primers. Product selection should be made after inspection.
Can painters coat over peeling weatherboard paint?
No lasting system can rely on loose paint. Failing edges need to be removed back to a firm surface before sanding, priming and recoating.
Can weatherboards be painted a dark colour?
They can, but a major colour change should account for heat absorption, the board type and the coating manufacturer’s guidance. Test the colour on the home and discuss the proposed system before committing.
How often should painted weatherboards be checked?
Inspect them at least yearly and after unusually wet or severe weather. Exposed elevations may need attention sooner than sheltered walls, particularly close to the coast.
Talk to the person preparing the quote
After more than 11 years in painting, we know the useful conversation is not just about colour. It is about what condition the boards are in, what preparation is genuinely needed and what the quote includes.
Mosi works directly with each client and prepares BrushUp Painting’s fixed-price quotes personally. Explore our residential painting service or call 0413 655 514 to arrange a quote.